Receiving the first physical prototype of your custom footwear design is a thrilling milestone. Your sketches and technical files have finally come to life. However, this is not just a moment to celebrate; it is the most critical quality control gate before mass production begins. How to review a shoe sample effectively? Missing a detail now can lead to thousands of flawed units later. Drawing on our 18 years of shoe manufacturing expertise, we have created the ultimate checklist for reviewing a shoe sample. This guide will help you evaluate your prototyping phase like a seasoned professional. Experience seamless OEM manufacturing with us.
Phase 1: Visual Aesthetics and Tech Pack Alignment
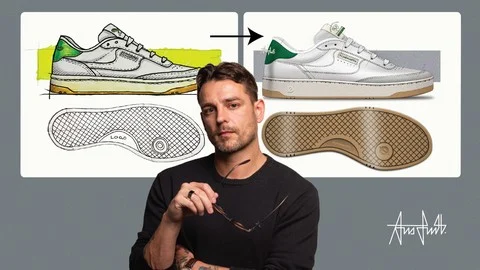
The very first step is to place the physical shoe next to your original Tech Pack. Does the reality match the blueprint?
Checking Overall Proportions and Silhouette
Stand back and look at the shoe from all angles—profile, top-down, front, and heel. Are the proportions correct? Does the toe box slope perfectly, or does it look too bulky? The overall silhouette must capture the essence of your original design for your custom shoes.
Verifying Colorways Against Pantone Standards
Lighting can play tricks on your eyes. Take the sample into natural daylight and use a physical Pantone book to verify the colors. Check the upper materials, the midsole paint, and the laces. Ensure the colorways match your exact specifications precisely.
Inspecting Logo Placement and Execution (Print, Embroidery)
Your logo is your brand’s signature. Check the logo placement with a ruler. Is it centered? Is it the correct size? If it is embroidered, check for loose threads. If it is printed or debossed, ensure the edges are crisp and clean without any bleeding.
Phase 2: Material and Component Verification (The Touch Test)
Once the shoe passes the visual test, you must evaluate the tactile experience. Quality control heavily relies on the touch and feel of the materials.
Assessing the Upper Material (Leather, PU, Knit)
Feel the upper material. If you specified premium full-grain leather, does it feel supple and rich? If you chose breathable mesh or knit, does it have the correct stretch and density? Confirm that the factory did not substitute your requested material with a cheaper alternative.
Examining the Midsole Cushioning and Outsole Grip
Press your thumb firmly into the midsole cushioning. Does it offer the right balance of softness and energy return (e.g., EVA or PU foam)? Flip the shoe over and inspect the outsole. The rubber should feel durable, and the tread pattern must be deep enough to provide adequate traction.
Reviewing Trims, Laces, and Eyelets based on the BOM
Consult your Bill of Materials (BOM). Check every minor component. Are the eyelets the correct metal finish? Are the laces the specified length and thickness? Small details define premium custom shoes.
Phase 3: Craftsmanship and Construction Quality
This phase separates amateur factories from professional partners. You must look closely at how the shoe is assembled.
Scrutinizing the Stitching: SPI (Stitches Per Inch) and Straightness
Examine the stitching along the upper panels. The lines must be perfectly straight and parallel to the edges. Count the Stitches Per Inch (SPI). A higher SPI generally indicates better durability and a more refined look. Look out for dropped stitches or uneven tension.
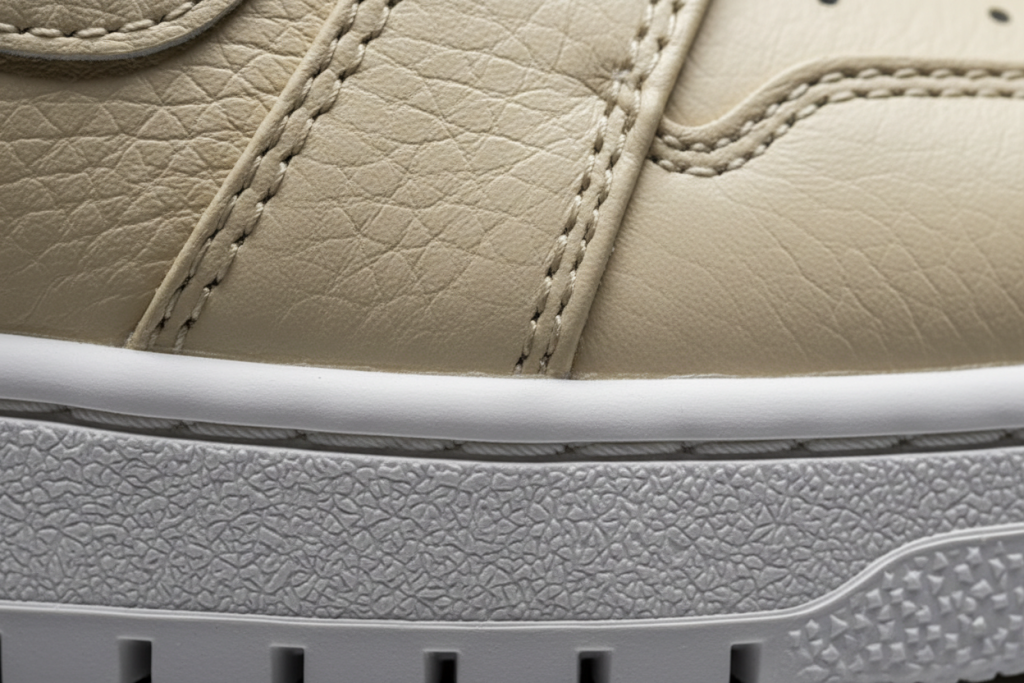
The Glue Line: Checking for Excess Cement or Weak Bonds
The point where the upper meets the outsole is critical. Inspect the glue line carefully. There should be absolutely no excess cement spilling over onto the upper material. Conversely, gently pull the upper away from the sole to ensure there are no weak bonding areas or gaps.
Internal Finish: Seams, Lining, and Insole Placement
Slide your hand inside the shoe. The lining should be smooth without wrinkles. Check the internal seams; they should lay flat to prevent blistering. Ensure the insole sits perfectly flush against the edges without bunching up.
Phase 4: Fit, Function, and Wear Testing
A shoe can look perfect but fail completely if it does not fit well. Functional testing is a mandatory step in prototyping.
Measuring the Sample Against Your Size Chart
Use a measuring tape to check the internal length and width of the sample. Compare these measurements directly against your brand’s specific size chart to ensure the factory used the correct last.
The “On-Foot” Test: Comfort, Flex, and Support
Have a fit model (someone with the exact sample size foot) try the shoe on. How does it feel? Have them walk, jog, and bend their feet. The shoe should flex naturally at the ball of the foot and provide adequate support around the arch and heel.
Identifying Potential Pressure Points or Rubbing
Ask the fit model to identify any areas of discomfort. Are the materials rubbing against the ankle bone? Is the toe box too narrow? Identifying pressure points now saves you from costly customer returns later.
Next Steps: How to Provide Constructive Feedback
Reviewing is only half the job. Communicating your findings to the factory clearly is the other half.
Documenting Issues with Clear Photos and Notes
Do not just say “the stitching is bad.” Take clear, macro photos of the exact issue. Circle the problem digitally and write a concise note referencing your Tech Pack. Clear documentation prevents arguments and speeds up the revision process.
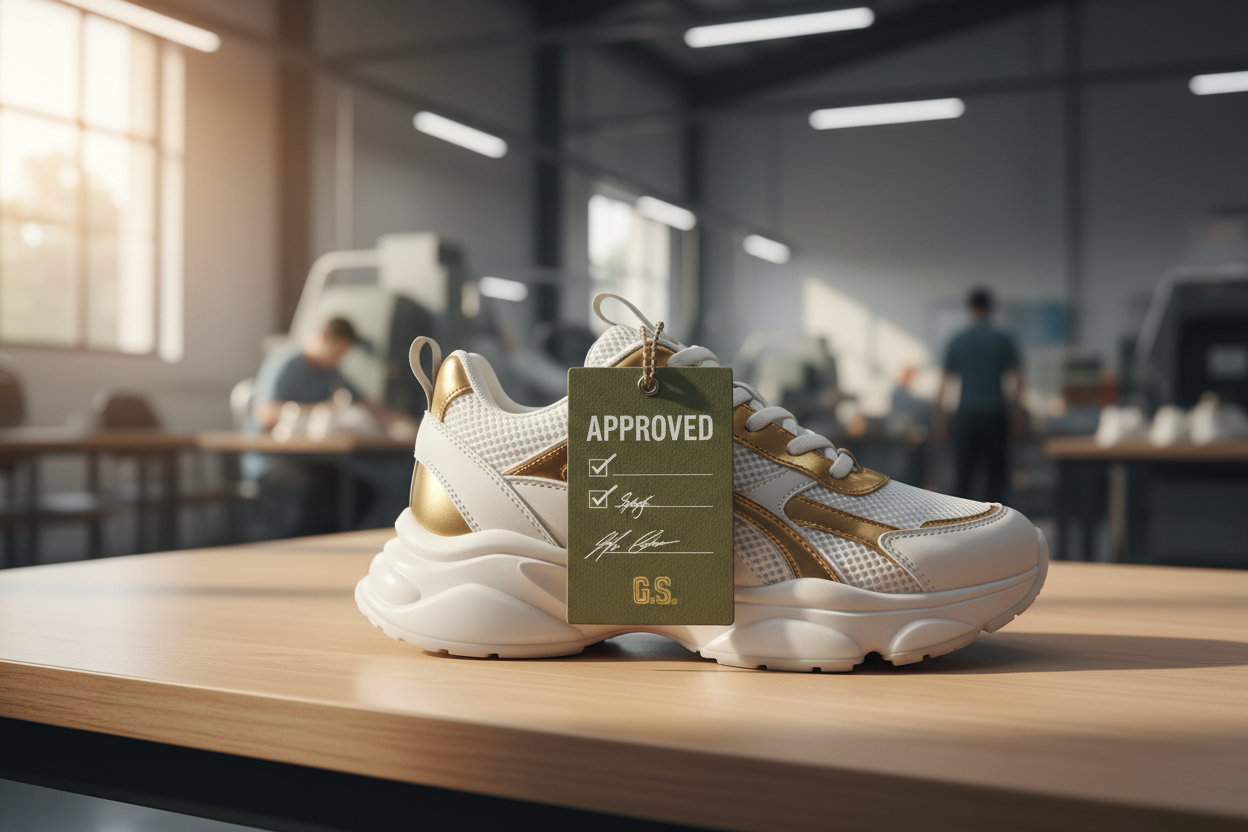
Approving the “Golden Sample” for Bulk Manufacturing
Once a sample meets 100% of your requirements after revisions, you sign and date the physical shoe. This becomes the Golden Sample. The factory will use this exact shoe as the absolute standard for mass production. Start your prototyping journey with a reliable factory.

A Perfect Sample is the Blueprint for Success
Treat the sample review process with the utmost seriousness. By systematically checking the aesthetics, materials, craftsmanship, and fit, you eliminate risks. A flawless prototype guarantees that your bulk production will delight your customers and elevate your brand.
Ready to turn your design into a perfect physical sample?Contact our expert development team today and let’s perfect your product together.
Frequently Asked Questions About Shoe Prototyping
What should I do if the first shoe sample is completely wrong?
What should I do if the first shoe sample is completely wrong? Don’t panic. First, review your Tech Pack to ensure your instructions were clear. Then, arrange a video call with your supplier to walk through the errors step-by-step. A good factory will acknowledge the mistakes and quickly produce a second, corrected sample at no extra prototyping cost if the error was theirs.
How many rounds of sample revisions are normal?
How many rounds of sample revisions are normal? Typically, developing a completely new custom shoe takes 2 to 3 rounds of sampling. The first sample focuses on structure and fit. The second refines materials and colors. The third is usually the final confirmation (the Golden Sample).
How long does it usually take to make a custom shoe prototype?
How long does it usually take to make a custom shoe prototype? From the moment you submit a finalized Tech Pack, a first prototype usually takes 15 to 25 days to create. This includes sourcing the specific materials, cutting the patterns, and assembling the shoe.Reach out to us to map out your timeline.